Instruction Manual
Introduction
This is a user manual for the pension-form-filler. This manual will guide you through the process of filling out the pension form.
Filling out the pension form for the first time
Steps to get started:
- In the Pension Form Filler interface/website, fill in the details in an input field
-
Click the
Save records to JSON filebutton in the top right corner of the page to save the records to a JSON file on your computer. This file can be used to fill out the form again.NOTE: However, the file is JSON, the extension is
.pension.recordsand it is not easy to read out. If you want to manipulate the file manually, you will need to use an enhanced text editor.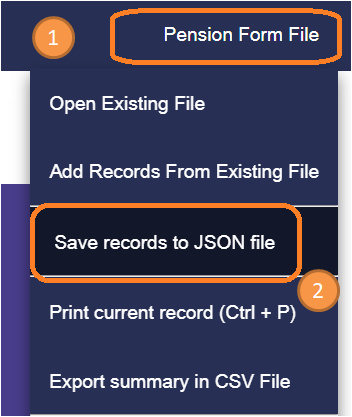
-
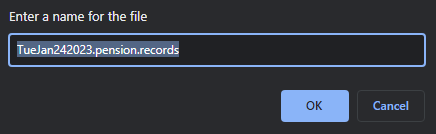
You will be asked to name the file. Which should be appropriate according to the data being filled.
By default, it will be current date followed by the file-extension. (i.e., '.pension.records')
Printing out the forms
Steps to print out the filled forms:
-
As you enter data, the forms will be ready to print. You can print them by clicking on the "Print Record" button in the upper right corner of the page or by using the hotkey (Ctrl + P).
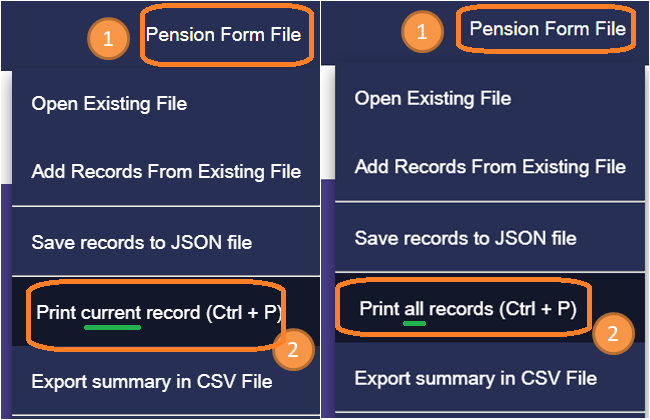
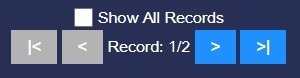
NOTE: You can toggle between 'single record' and 'all records' using this checkbox:

-
You will need to take care of the printing dialog box provided by the web client, on which you will be able to set the orientation, the paper size, etc.
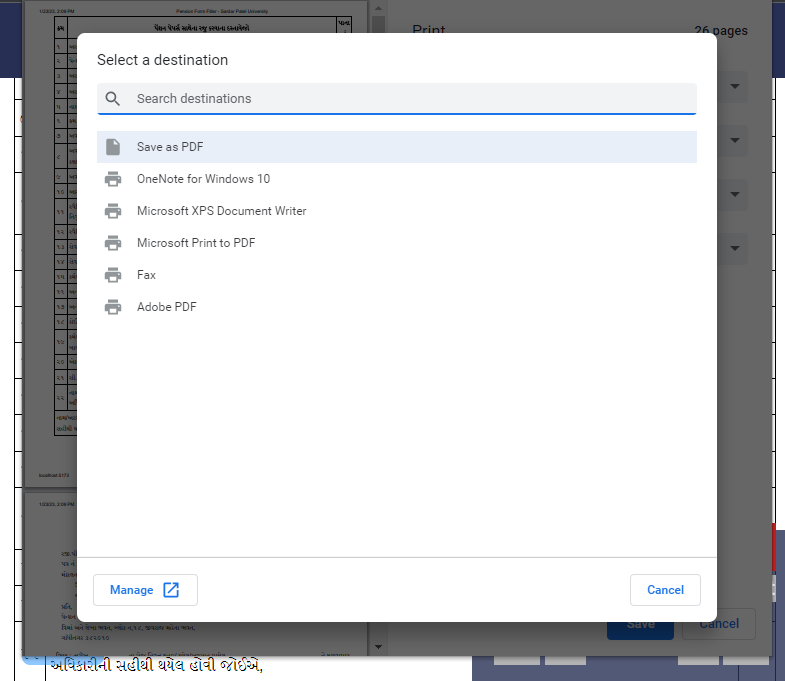
Configuration of print-dialog-box
The settings should look something like this:
- Margins: default
- Scale: default
- Paper size: A4
- Orientation: Portrait
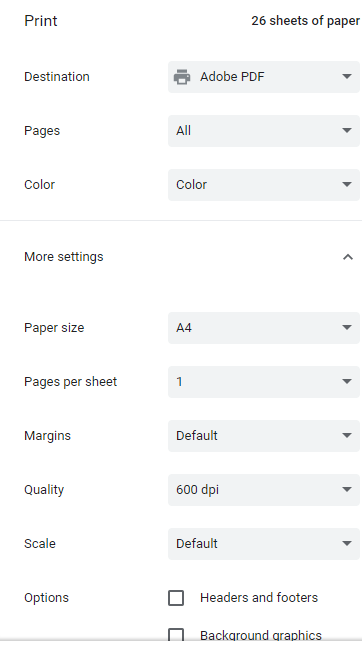
NOTE: The print destination should be set to 'Save as PDF' if you do not want to print the form.
-
Click on the "Print" button to end the process. The form will be printed out.
Open existing 'RECORDS' file
What do you mean by 'opening a RECORDS file'?
Once you save your data as a JSON file using the steps outlined in the 'steps-to-get-started' section, you'll be able to easily access and continue your work on any computer or tablet, as the file is portable.
Steps to open an existing file
-
Click the
Open Existing Filebutton in the top right corner of the page to get a dialog box from where you can select a file.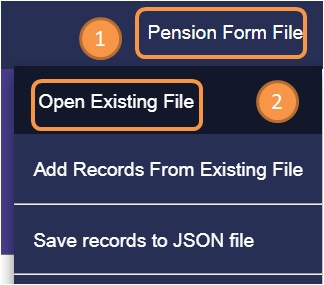
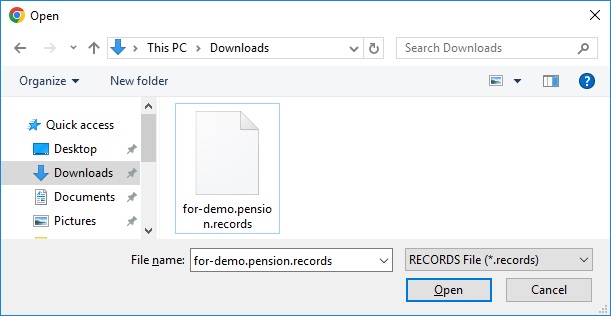
-
Select file using that dialog box.
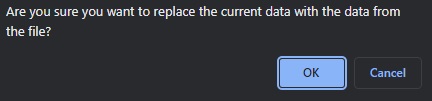
At this point, you will be asked whether to remove the current data, if any exists, and place the incoming data from the file.
If you deny to replace the data, your current data will remain intent and incoming file will simply be rejected. But if you allow to replace the data, your current unsaved data will be removed permanently.
Append rows from an existing file
-
As discussed in the previous section, you can open an existing file. But you can also append rows from an existing file.

-
To do so, click the
Append Record from Existing Filebutton in the top right corner of the page to get a dialog box from where you can select a file.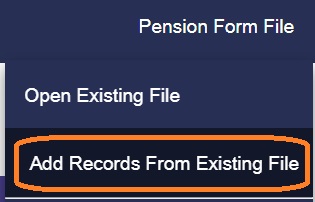
-
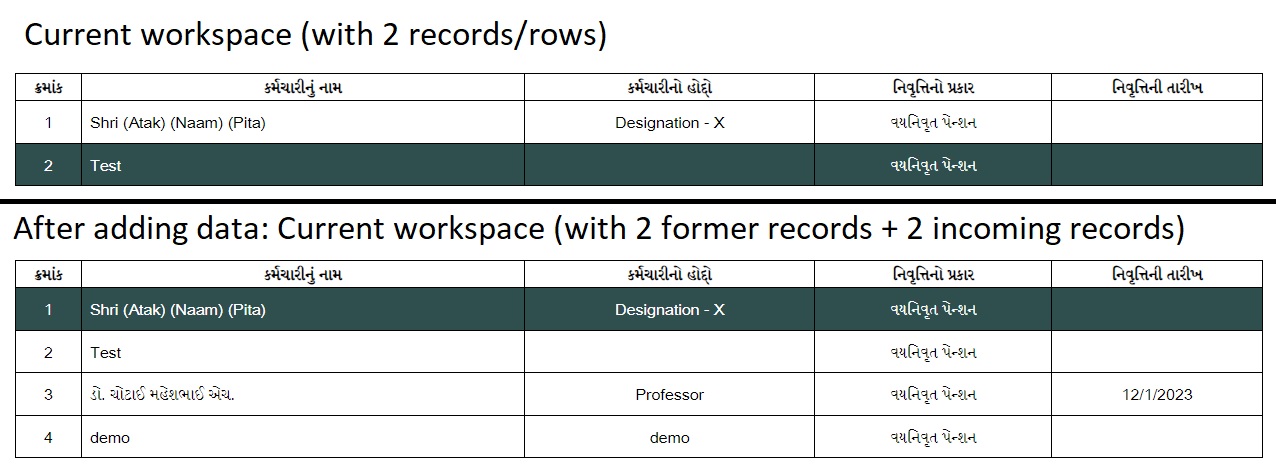
Select file using that dialog box. Unlike the previous section, you will not be asked to replace the data. Rather, the incoming data will be appended to the existing data. As shown below:
Reset the workspace
Why would you want to reset the workspace?
If you want to start afresh, you can reset the workspace. This will remove all the data from the workspace and you will be able to start from scratch.
NOTE: This action cannot be undone. So, make sure you have saved your data before proceeding.
This action will not delete the file from your computer. It will only remove the data from the workspace.
This feature is added because the data will be kept in the localStorage of your browser. Which means, if you close the browser, the data will not be lost; you can simply open the browser again and continue your work. But if you want to start afresh, you can reset the workspace.
Steps to reset the workspace
-
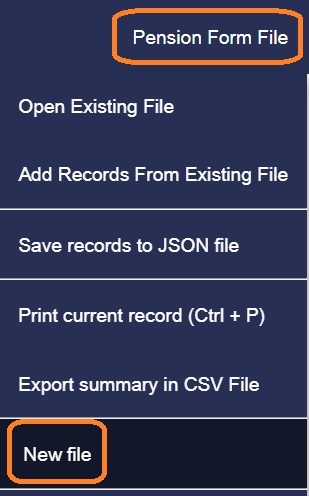
Click the
New Filebutton in the top right corner of the page -
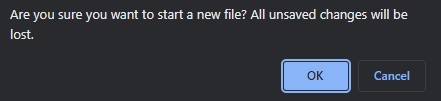
You will be asked to confirm the action. Click
OKto confirm.
Export data to CSV (Comma Separated Values)
What is CSV?
CSV is a file format that stores tabular data (numbers and text) in plain text. Each line of the file is a data record. Each record consists of one or more fields, separated by commas. The use of the comma as a field separator is the source of the name for this file format.
In very simple words, you can open this file in MS Office Excel. 🎉
Steps to export data to CSV
-
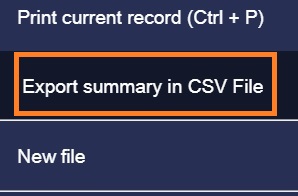
Click the
Export Summary in CSV Filebutton in the top right corner of the page. -
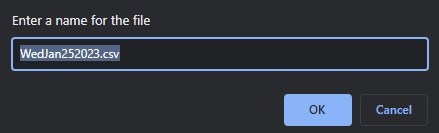
In the dialog box, type the name of the file and click
Ok.
Manage records in the workspace
Add and remove records
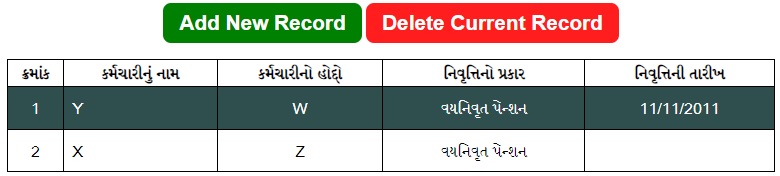
You can add or delete one record at a time by clicking the respective buttons in the top section of the page.
Navigate between records
As shown in the image above, you can navigate between records by
clicking on any row in the table. You can also use the
< and > buttons at the bottom-right
of the page to navigate between records.
Miscellaneous features
Change the size of the fonts
You can change the font-size of the page by dragging the slider at the bottom-right of the page.
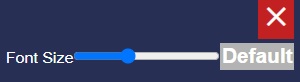
NOTE: This is not recommended to be changed at all.